A shower remodel looks simple from the outside. The tile is the last thing you see, but the success of the job is decided in the layers behind it.
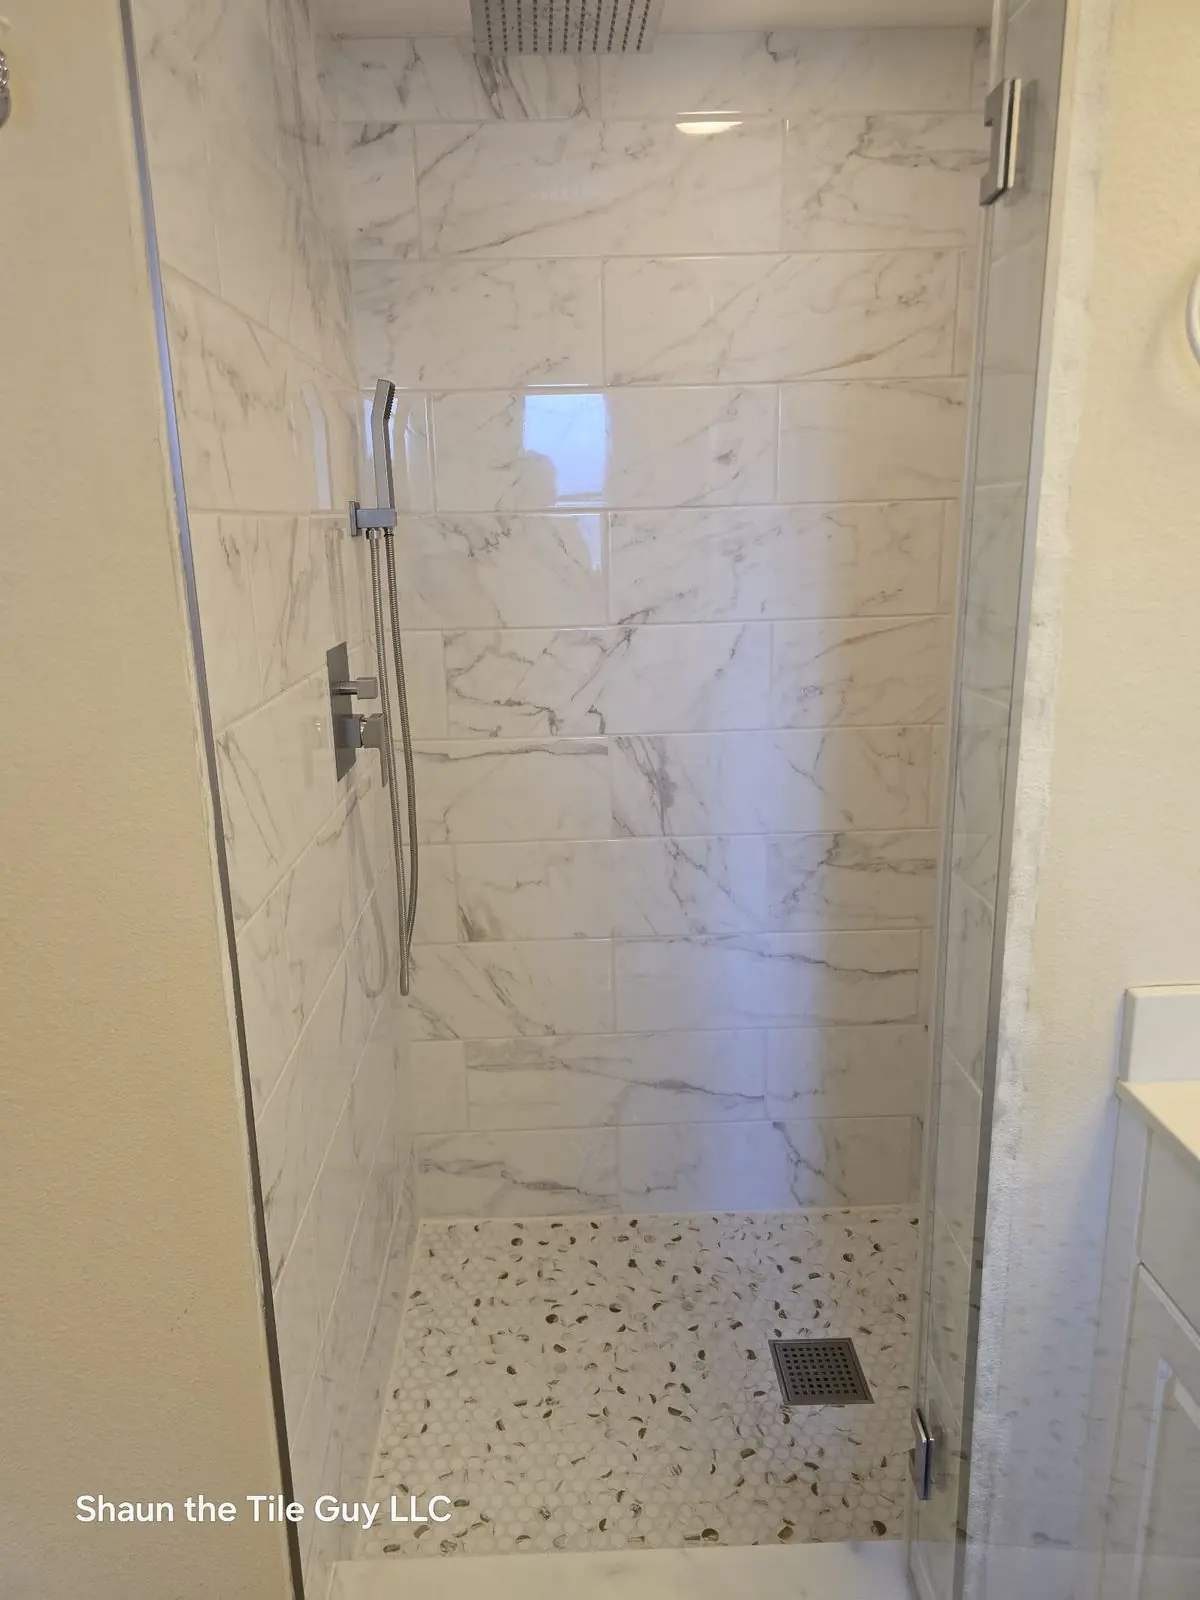
Step 1: Demo and inspection
The old tile and any damaged backer board come out. This is when hidden problems show up, such as water damage or a poorly sloped pan. A good installer tells you right away if something needs repair.
Step 2: Slope and waterproofing
The shower floor needs a proper slope toward the drain. Then waterproofing, either a sheet membrane or a liquid system, goes over the walls and floor. This layer is what actually keeps water in the shower. The tile is decorative armor on top of it.
Step 3: Setting tile
Walls are set with consistent spacing and layout lines so patterns stay level and centered. Niches, benches and corners take careful cutting. Large-format tile needs full thinset coverage and flat walls.
Step 4: Grout, caulk and seal
Grout fills the joints once the thinset has cured. Corners and edges get flexible caulk instead of grout. Natural stone and cement grout get sealed.
Step 5: Glass and fixtures
Glass doors and fixtures go on last. Many homeowners schedule these a few days after the tile so everything has time to cure.
How long does it take?
A standard shower commonly takes about a week of working days once the project starts, plus cure time between steps. Larger or more detailed showers take longer. Shaun gives you a schedule with your written estimate.
See it in your own bathroom
Try patterns and materials in the Tile Studio, then see Shaun's shower tile work and request a free estimate.
Shaun gives free, written estimates across Lee, Collier and Charlotte counties.
Get my free estimate → Call (862) 354-2391